★★★★★4.3 (6,679)
Get Yours
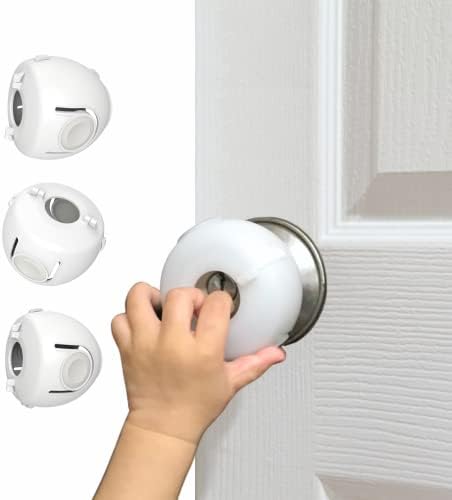
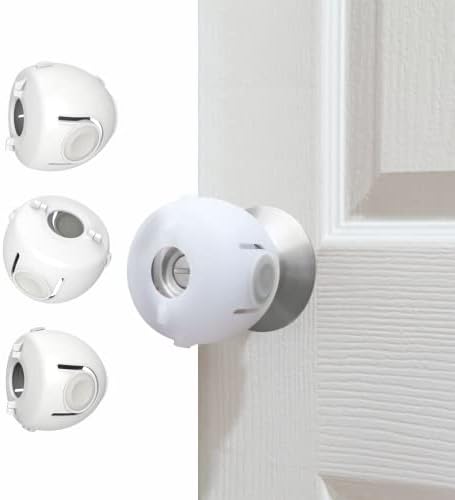
Child Proof Door Knob Covers
$9.99
In stock
The logbook
Every home shifts when a child begins to move independently. Living rooms and kitchens that felt predictable suddenly present new reach zones, heavy doors, and low storage. Childproofing hardware is not a substitute for adult attention, but it adds friction where you need it most. Knowing when to install each piece and when to take it down helps keep your home functional without unnecessary clutter.
Rolling changes the baseline first. A baby on the floor begins to pivot, making low table edges and media consoles immediate points of contact. Clear L-shape and round TPR corner guards fit corners on wood, glass, metal, marble, and plastic to buffer those early encounters.
Crawling brings floor-level storage into play. Low kitchen cupboards, trash bins, and side tables become accessible within seconds. Adjustable strap locks made of ABS, which adjust from 3" to 7", keep cabinet doors closed against early exploration. When children begin pulling to stand, vertical reach expands to standard round door knobs measuring 1.4" to 2" across, refrigerator handles, and low appliance doors. Walking then opens access to lever handles across entire hallways.
Putting hardware in place before reach develops avoids reacting after a near miss. Children do not announce when their grip strength or height will jump overnight. Having snap-in door knob covers or lever locks mounted ahead of time means the barrier is already steady when curiosity strikes.
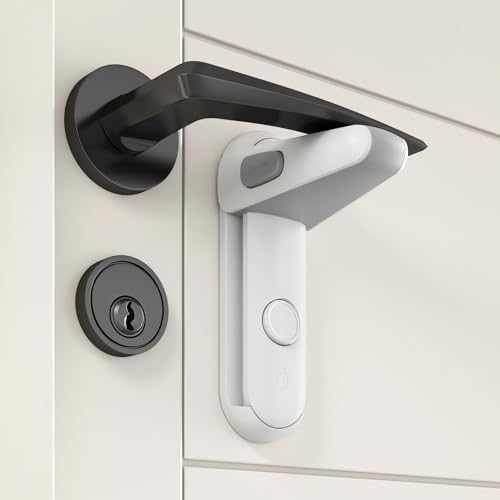
Installing early also gives you time to inspect your fittings. Lever locks require adequate flat clearance on the door panel around the handle. If a lever opens by pulling upward or works in both directions, planning early lets you mount two units above and below the handle to keep the door secure.
Adhesive hardware needs a clean surface and undisturbed curing time to hold against determined pulls. Wipe away grease, dust, and moisture before peeling the backing tape. When setting invisible cabinet latches inside drawers or cupboards, press firmly for 30 seconds to establish contact across the tape.
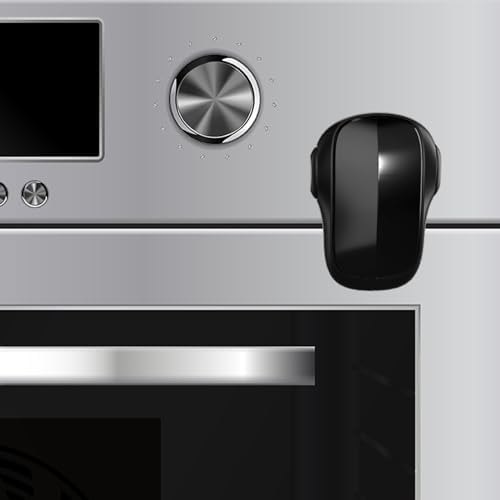
Giving the tape time to set is essential. Most standard adhesive lever locks, invisible cabinet latches, and grey or white ABS fridge locks with double buttons spaced 1.57 inches apart reach optimum hold after 24 hours. The heat-resistant black oven lock requires 72 hours for its adhesive to reach optimum strength. Mount hardware in the evening so it cures before anyone tests it.
Daily life with childproofing comes down to adult muscle memory. Hardware should slow down small hands while remaining straightforward for adults moving through the house with full hands. Lever locks swing smoothly left or right once pressed, and French door latches made of High Impact Polystyrene allow one-handed release by pressing the button right and lifting.
Door knob covers made from BPA-free PP and TPR spin freely when a toddler tries to turn them, while an adult presses both side buttons simultaneously to operate the latch. Invisible interior latches include an on/off switch so you can disengage the latch mechanism entirely when preparing large meals or after bedtime.
Hardware should come down once children understand house rules and verbal boundaries consistently, or whenever a child learns how to defeat a specific mechanism. Door lever locks and internal cupboard latches are usually the first pieces parents retire as room-by-room trust grows.
Protective corner guards and oven locks tend to stay mounted longest because high heat and sharp table edges remain hazards during active play. When removal day arrives, apply gentle heat with a hairdryer for about 30 seconds to soften the tape backing, then peel the plastic base away with slow, steady pressure to avoid surface residue.